

Key Takeaways
- Back up your old phone fully before starting any transfer to prevent data loss.
- Android and iPhone each have built-in transfer tools that handle most data automatically.
- Some data - like two-factor authentication apps - requires manual migration steps.
- Verify all your content on the new phone before wiping or passing on your old device.
What you will need
What You Need Before You Start
A phone transfer goes smoothest when both devices are charged, backed up, and connected to Wi-Fi before you begin. Rushing through setup without a current backup is the most common reason people lose photos or contacts. If you're new to managing phone accounts, our plain-English smartphone orientation covers account setup fundamentals worth reviewing first.
What you will need
Google One / Google Backup
Backs up Android contacts, app data, SMS, and settings to your Google account for easy restore.
Apple iCloud Backup
Stores an iPhone backup in the cloud so your new iPhone can restore all your data during setup.
Move to iOS app (Android to iPhone)
Apple's free Android app that wirelessly transfers contacts, messages, photos, and more to a new iPhone.
Transfer cable or adapter
A wired connection speeds up large photo and video transfers between devices significantly.
Step-by-Step: Moving Your Data
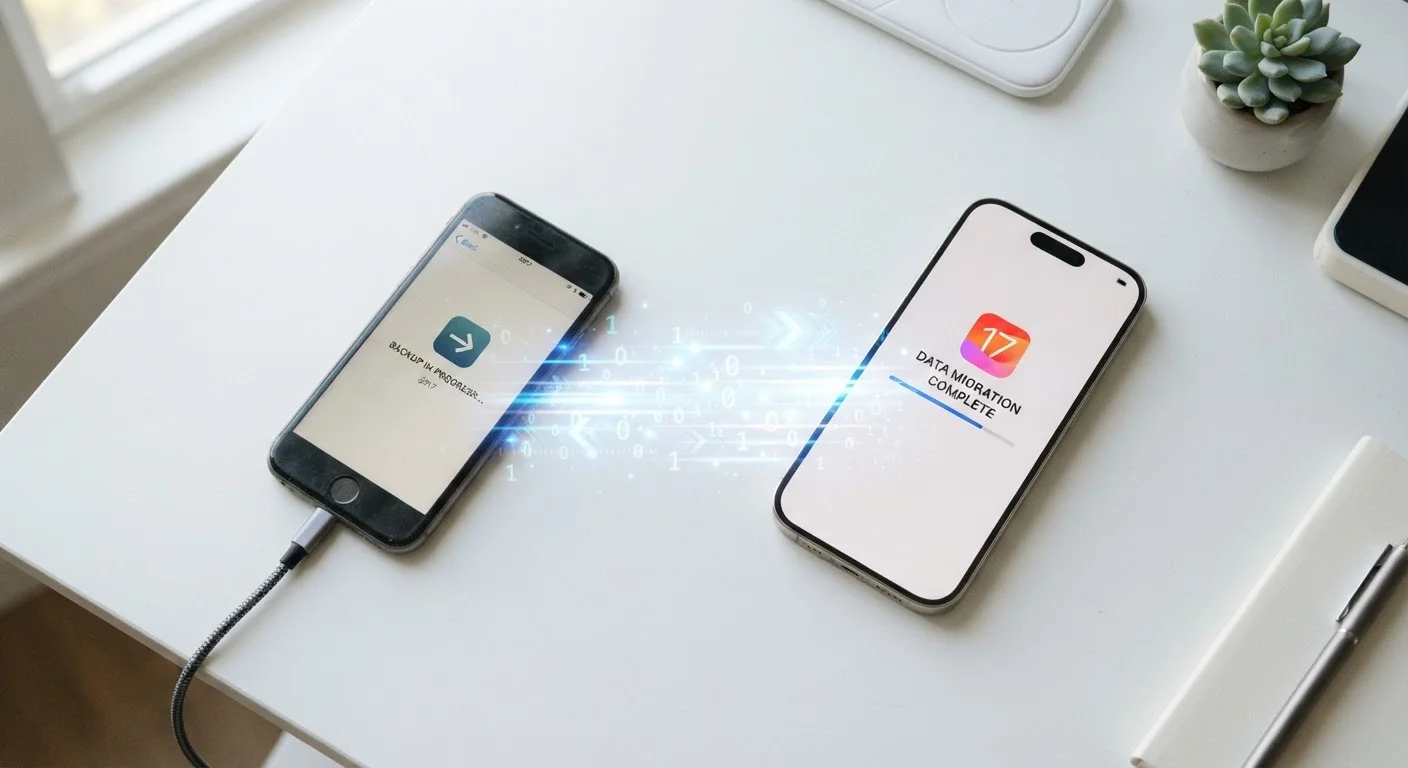
Follow these steps in order. The process typically takes 20-60 minutes depending on how much data you're moving and your internet speed.
Back up your old phone completely
Before anything else, create a fresh backup. On Android, go to Settings > Google > Backup and tap Back up now. On iPhone, go to Settings > [your name] > iCloud > iCloud Backup and tap Back Up Now. Wait for the backup to complete - confirm the timestamp shows today's date before proceeding.
Move your SIM card or activate eSIM
If your plan uses a physical SIM, power off both phones and carefully move the SIM card to your new device using the ejector tool. If your carrier and new phone support eSIM, you can often activate it digitally through your carrier's app or by scanning a QR code they provide - no physical card needed.
Run the built-in transfer wizard on your new phone
iPhone to iPhone: During new iPhone setup, choose Transfer from iPhone and follow the Quick Start prompts. Bring both phones close together and follow the on-screen camera animation.
Android to Android: Most Android phones prompt you to copy data during first-time setup. Choose Copy from old device, then connect via cable or Wi-Fi and sign in to your Google account.
Android to iPhone: Install Apple's Move to iOS app on your Android before setting up the iPhone. During iPhone setup, select Move Data from Android and follow the pairing code instructions.
iPhone to Android: Use your Google account to restore from the iCloud backup import option, or use the manufacturer's migration tool (e.g., Samsung Smart Switch) to pull data directly.
Verify contacts, photos, and messages
Once the transfer completes, open your Contacts, Photos, and Messages apps on the new phone and spot-check the content. Scroll through photos to confirm your full camera roll made it across. Search for a specific contact you know well to verify all details transferred correctly. Check a recent text thread for completeness.
Re-download apps and re-log into accounts
Most apps restore automatically via your Google Play or App Store purchase history, but you'll need to log back in to each one. Start with your most-used apps - email, banking, and social media. Check that notifications and preferences are configured as expected in each app's settings.
Migrate two-factor authentication apps manually
Authenticator apps like Google Authenticator or Authy store one-time codes that do not transfer automatically. Open your authenticator app on your old phone and use its built-in export or transfer feature before you wipe the device. For Google Authenticator, tap the menu and choose Transfer accounts > Export accounts. Scan the resulting QR code with the same app on your new phone.
Prepare your old phone for handoff or storage
Once you've confirmed everything is on your new phone, sign out of all accounts on the old device and perform a factory reset. On iPhone: Settings > General > Transfer or Reset iPhone > Erase All Content and Settings. On Android: Settings > General Management > Reset > Factory Data Reset. This protects your personal data before the device changes hands.
Don't Wipe Your Old Phone Too Soon
It's tempting to reset your old phone immediately after the transfer, but wait at least 24-48 hours. Use your new phone normally for a day and confirm that every app, account, and piece of content you rely on is present and working. Some data - particularly from third-party apps - may not transfer automatically and can only be recovered from the old device.
Common Transfer Pitfalls to Avoid
Even with built-in transfer tools, a few categories of data require extra attention:
- WhatsApp and third-party message apps: These have their own in-app backup and restore process. Back them up independently before transferring.
- Downloaded music and podcasts: Streaming apps restore automatically, but locally downloaded files may need to be re-downloaded on the new device.
- Health and fitness data: Apple Health data transfers with iCloud backups on iPhone. Android health data varies by app - check your specific app's export options.
Switching Operating Systems Means Some Data Won't Cross
Moving from iPhone to Android (or vice versa) means certain data types won't transfer: iMessage history, FaceTime, and Apple Wallet passes don't move to Android, and Google Pay data doesn't move to iPhone. You'll also need to repurchase paid apps that aren't cross-platform. Factor this in before committing to the switch.
Once your new phone is running well, review your security habits from day one to make sure your new device is properly locked down. And when you're ready to pass on your old phone, see what to do before handing down your old phone for a complete wipe checklist.
Cloud Backups Are Your Safety Net
Even if you use a direct device-to-device transfer, maintaining an active cloud backup is worth keeping long-term. It protects you against accidental drops, theft, or app crashes - not just upgrades. Understanding how cloud and local storage work together helps you choose the right backup strategy for your needs.