

Key Takeaways
- Plan speaker placement and cable routing before unpacking any equipment.
- An AV receiver is the central hub connecting your TV, speakers, and source devices.
- HDMI ARC simplifies audio return between your TV and receiver using a single cable.
- Speaker wire polarity must match at both the receiver and speaker ends to avoid phase issues.
- Calibrating your receiver with a test tone ensures balanced, room-optimized audio.
What you will need
What you need to know before you start
A home theater system is built around three interconnected layers: a display (your TV), an audio processor and amplifier (the AV receiver), and the speakers that fill your room with sound. Understanding how these pieces relate to each other before you begin saves significant troubleshooting time. If you haven't yet decided on a speaker format, our guide to stereo, surround, and soundbar formats explains the differences between a 2.0 stereo pair, a 5.1 surround setup, and a soundbar - each suits a different room size and listening habit.
If you're still weighing whether a full receiver-based system is right for your space, matching your audio setup to your space and budget walks through how room dimensions and listening habits shape the right choice. For a direct comparison of receivers versus soundbars, see receiver vs. soundbar: choosing an audio hub.
This guide assumes you've already selected a 5.1-channel system - the most common home theater configuration - with a separate AV receiver, five speakers, and a subwoofer. The steps below apply broadly to other configurations as well.
What you will need
AV Receiver
Acts as the central hub, amplifying audio signals and routing video to your TV.
Speaker Wire
Carries amplified audio signal from the receiver binding posts to each speaker.
HDMI Cables
Transmits high-definition video and audio between source devices, receiver, and TV.
Wire Stripper
Removes insulation from speaker wire ends to ensure clean electrical contact.
Subwoofer Cable (RCA)
Connects the receiver's subwoofer pre-out to the subwoofer's line-level input.
Stud Finder
Helps locate wall studs if you plan to mount the TV or run wires along the wall.
Putting it all together: connection and calibration
Follow the steps below in order. Each stage builds on the previous one, so skipping ahead - particularly to calibration before all speakers are wired - will produce misleading results.
Plan your layout before touching any cables
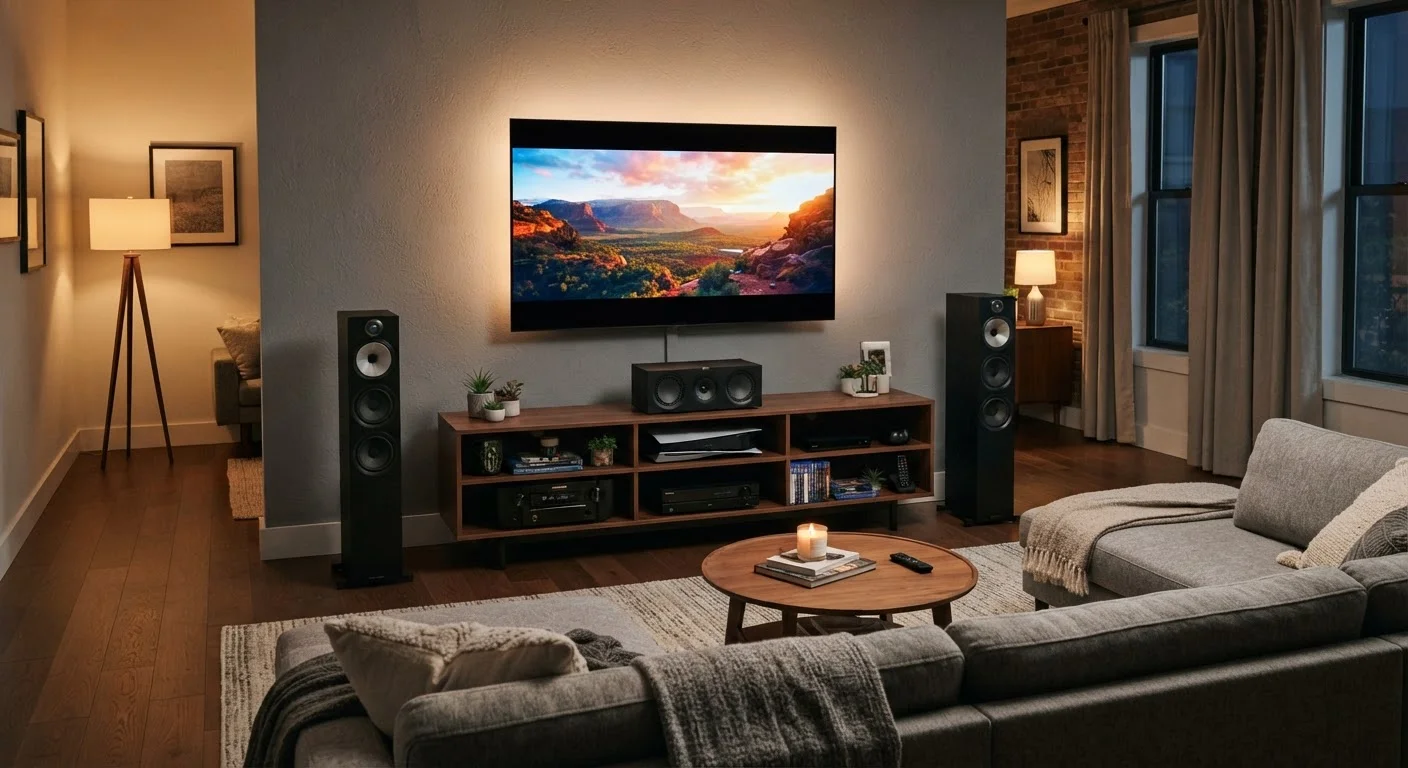
Sketch the room on paper and mark where each speaker will sit. For a standard 5.1 system, front left and right speakers flank the TV, the center channel sits directly above or below the screen, and surround speakers go to the sides or slightly behind the listening position. Your subwoofer is flexible - near a front corner typically produces the most even bass.
Measure the cable runs from each speaker location back to where your receiver will live. Add 10-15% to each measurement for slack and routing around doorways or furniture.
Position the AV receiver and allow for ventilation
Place the receiver in an open media console shelf or on a flat surface with at least 4 inches of clearance above it. Receivers generate significant heat during operation, and restricted airflow can trigger thermal shutdowns or reduce component lifespan. Do not stack other equipment directly on top of it.
Run and connect speaker wire
Cut lengths of speaker wire for each run. Strip approximately ¾ inch of insulation from each end. Most speaker wire has a marking - a stripe, ridging, or different-colored conductor - to help you identify the positive (+) lead consistently. Twist the exposed strands tightly before inserting them.
At the receiver, unscrew each binding post (labeled FL, FR, C, SL, SR, SW), insert the correct polarity wire, and tighten firmly. Repeat at each speaker's terminal. Consistent polarity at both ends keeps all speakers moving in phase, which is critical for accurate stereo imaging and bass response.
Connect the subwoofer
Run a subwoofer cable (RCA male-to-male) from the receiver's SUB OUT or LFE OUT jack to the LFE IN or Line In port on the back of the subwoofer. Powered subwoofers have their own built-in amplifier, so no speaker wire is needed - only this single RCA connection and the subwoofer's own power cable.
Connect source devices to the receiver via HDMI
Plug each source device - streaming stick, Blu-ray player, game console - into a numbered HDMI input on the back of the receiver. The receiver processes audio from these signals and passes video through to the TV. Use the receiver's on-screen setup menu to label each input (e.g., HDMI 1 = Streaming, HDMI 2 = Gaming) so switching inputs is intuitive later.
Connect the receiver to the TV using HDMI ARC
Locate the HDMI port on your TV labeled ARC or eARC. Run a single HDMI cable from that port to the HDMI OUT (ARC) port on your receiver. This one connection carries video from the receiver to the TV and sends TV audio back to the receiver - eliminating the need for a separate optical or RCA audio cable.
In your TV's audio settings, set the audio output to ARC and disable the internal speakers. This tells the TV to send all audio to the receiver rather than its built-in drivers.
Run the receiver's auto-calibration routine
Most modern AV receivers include an automatic speaker calibration system (commonly called Audyssey, YPAO, or MCACC depending on the manufacturer). Place the included calibration microphone at your primary listening position, connect it to the receiver's MIC jack, and follow the on-screen prompts. The receiver will emit test tones from each speaker, measure the results, and automatically set speaker distances, levels, and crossover frequencies.
After calibration, play a familiar film or music track and listen critically. Adjust individual speaker levels manually in the receiver's speaker menu if one channel feels too forward or recessed.
Keep Your TV's Specs in Mind
Before finalizing connections, confirm your TV has an HDMI ARC or eARC port - not all budget televisions do. If yours lacks ARC, you'll need a separate optical (TOSLINK) cable from the TV's digital audio output to the receiver. For a full checklist of TV connection ports to look for, see our TV buying checklist.
Once your system is calibrated and playing correctly, take a few minutes to route and bundle cables neatly with cable ties or sleeves. A clean installation reduces the chance of accidentally disconnecting a connection and makes future adjustments easier to manage. If you've recently gone through a similar first-time setup process, the approach shares some parallels with setting up a home computer for the first time - systematic steps and cable management matter in both cases.